
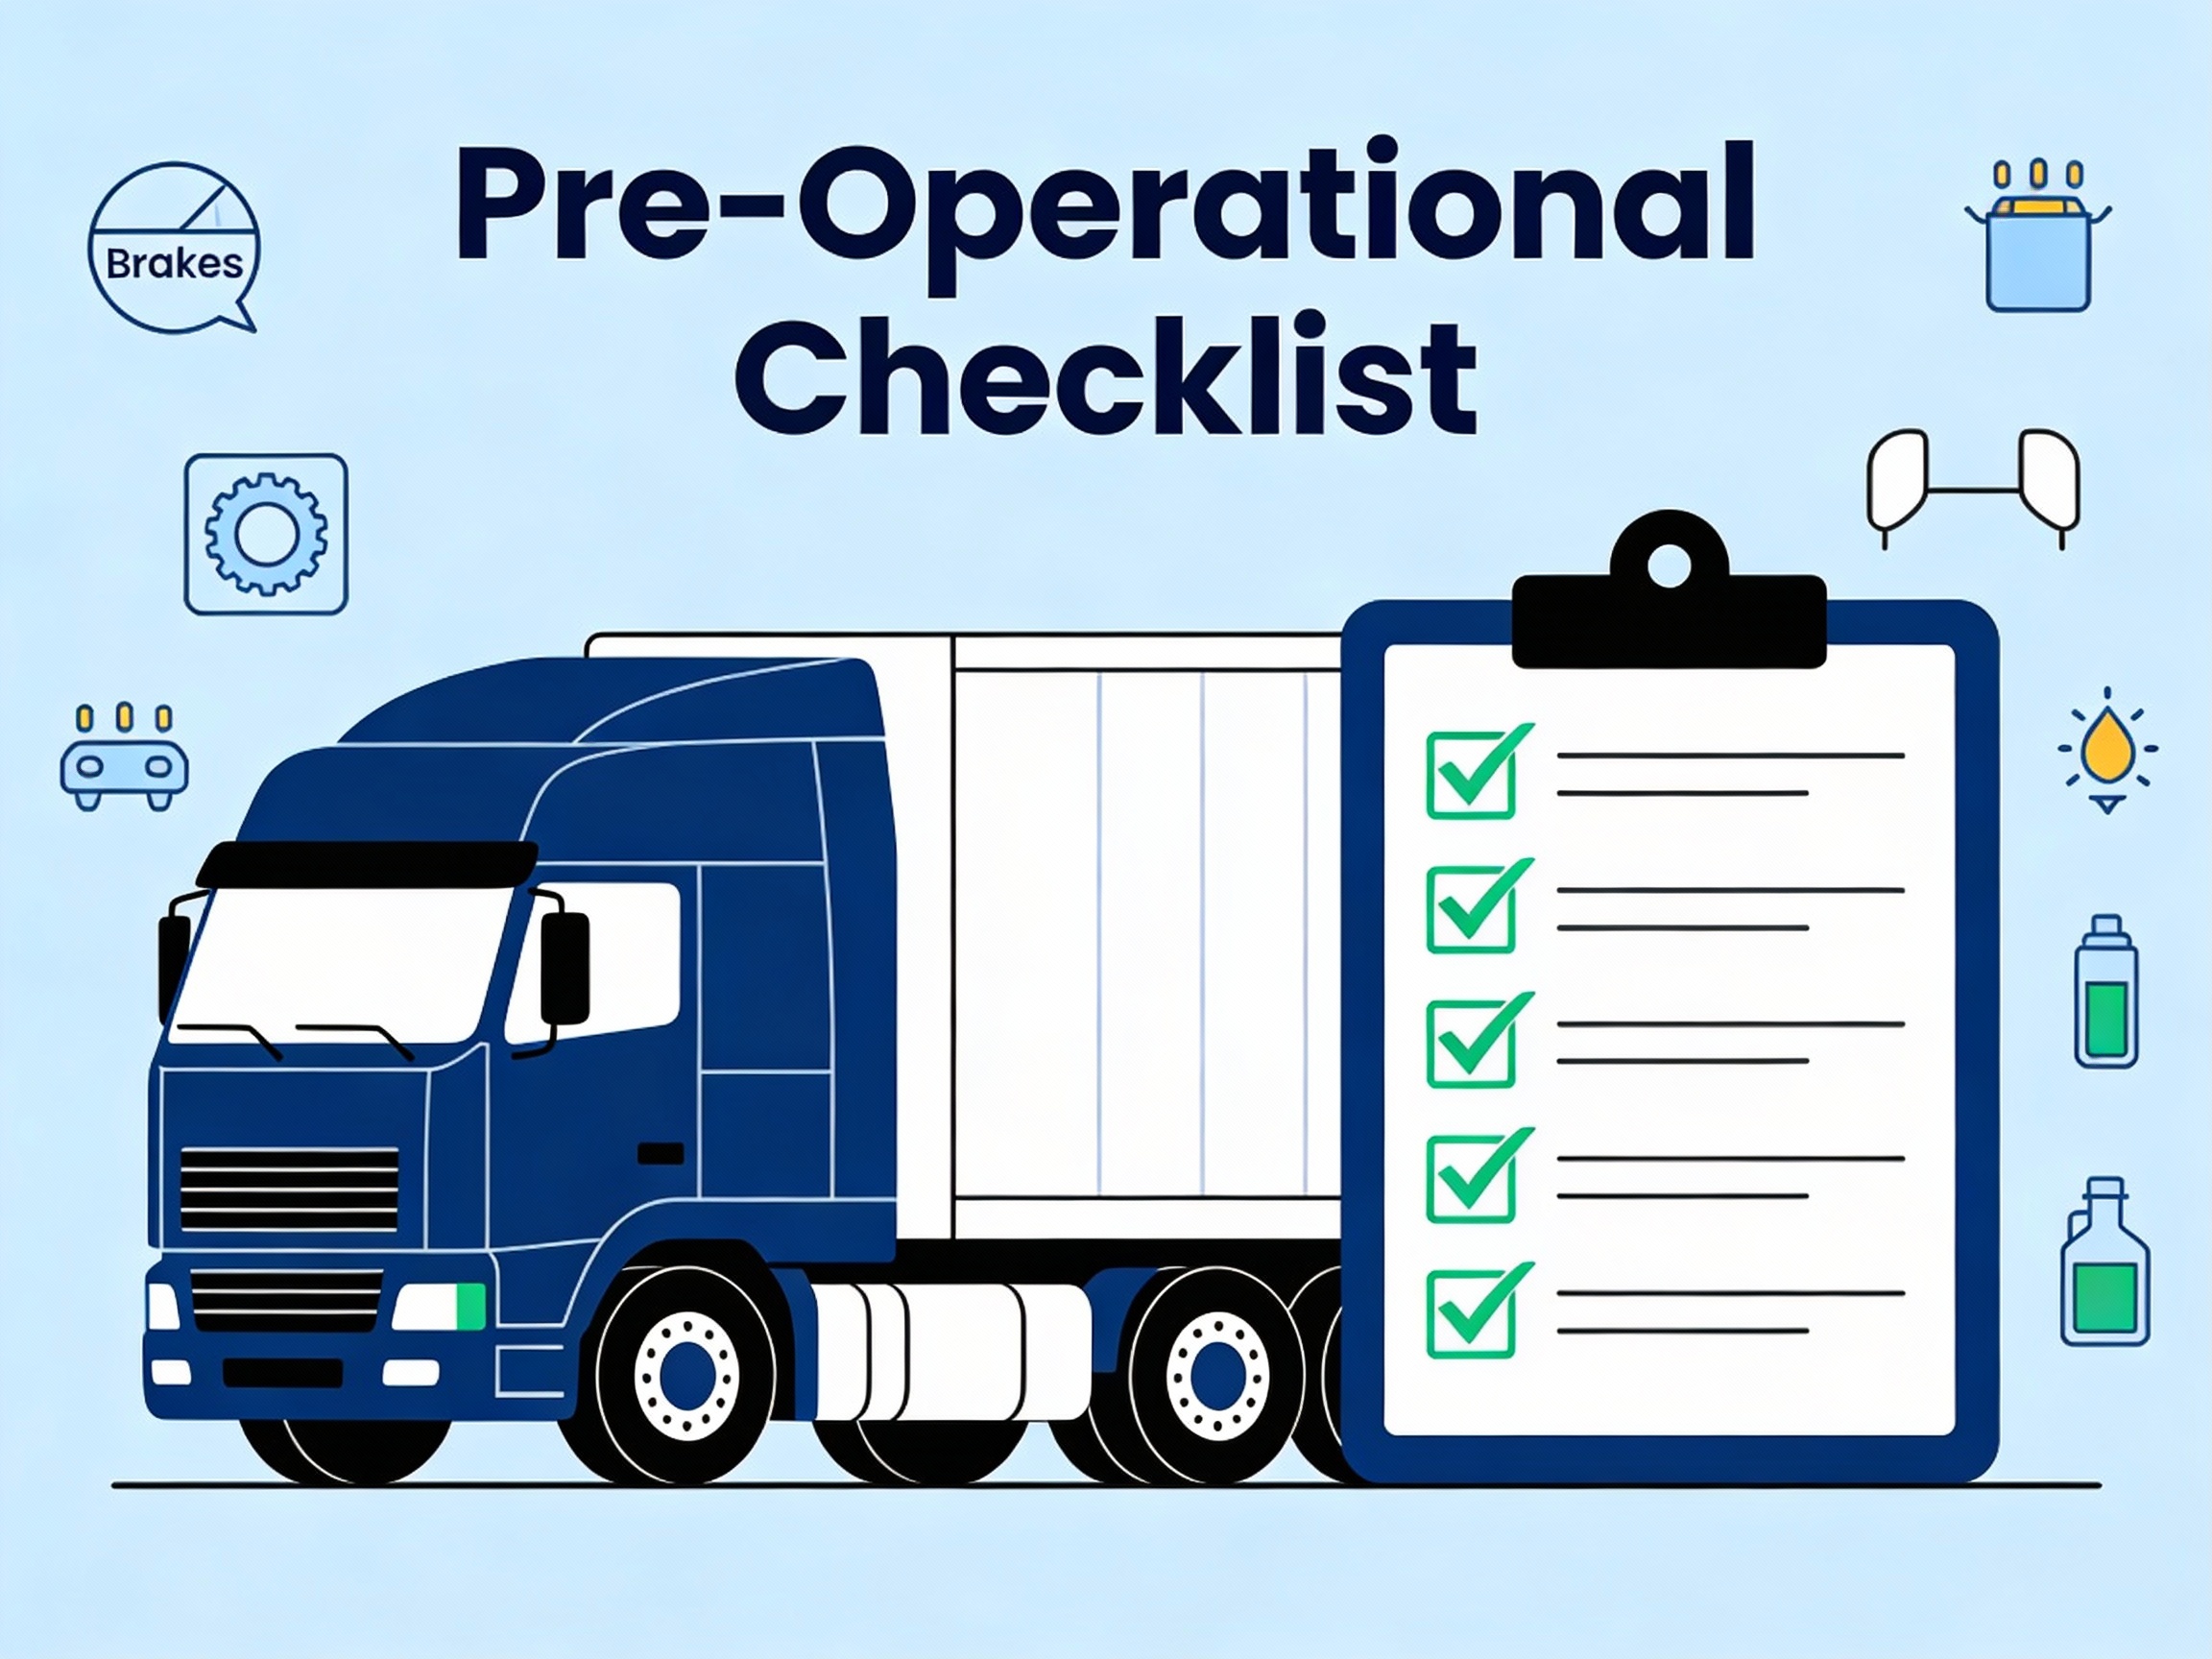
Truck pre-operational checklist: a daily pre-start inspection that heavy vehicle operators complete before driving, used to identify safety defects, confirm the vehicle is roadworthy, and support Chain of Responsibility (CoR) obligations under the Heavy Vehicle National Law (HVNL).
Truck Pre-Operational Checklist: Safety Guide + Free PDF Download (2026)
A truck pre-operational checklist (or pre-start check) is a daily inspection that heavy vehicle operators complete before driving. Its purpose is to identify safety defects, confirm the vehicle is roadworthy, and support Chain of Responsibility (CoR) obligations under the Heavy Vehicle National Law (HVNL).
Skipping this 15-minute check is one of the quickest ways to invite roadside defect notices, expensive breakdowns, and serious accidents. This guide outlines exactly what to inspect, why it matters, and how to move from paper logbooks to a compliant digital system.
Quick Guide: The 10 Essential Pre-Operational Checks
For a compliant daily inspection, every driver should verify these critical areas:
- Brakes & Air: Audible leaks, pressure build-up, warning buzzers operational.
- Tyres & Wheels: Tread depth (>1.5mm), correct inflation, secure wheel nuts.
- Lights & Electrics: Headlights, indicators, brake lights, reversing squawker.
- Couplings: Fifth wheel jaws locked, tug test performed, air lines connected.
- Vision: Windscreen clear of cracks, wipers functional, mirrors adjusted.
- Fluids: Engine oil, coolant, power steering levels (check for puddles).
- Load Restraint: Straps/chains tensioned, gates secured, curtains buckled.
- Structure: No loose panels, toolboxes locked, mudguards intact.
- Safety Gear: Fire extinguisher charged, triangles present, PPE available.
- Cabin: No loose objects under pedals, horn operational.
Download the PDF template here to print and use in your fleet today.
Why a Pre-Operational Checklist is Non-Negotiable
In transport, "she'll be right" is not a legal defence. A structured pre-op checklist provides three critical layers of protection for your business:
1. Safety First
According to Safe Work Australia, vehicle-related incidents are a leading cause of workplace injury. Catching a bald tyre or a cracked brake line in the yard helps prevent a catastrophe on the highway.
2. Regulatory Compliance
Under CoR laws, fleet managers must take "all reasonable steps" to ensure safety. A signed, time-stamped pre-start checklist can serve as primary evidence of due diligence if an incident occurs or a regulator asks questions.
3. Operational Efficiency
Preventative maintenance is cheaper than emergency repairs. Identifying a minor oil leak today can prevent a blown engine next week. Digital tools like DIGI CLIP can help streamline this by alerting mechanics when a defect is logged, when configured to do so.
The Problem with Paper Logbooks
Many fleets still rely on "triplicate" paper books. While better than nothing, they create significant compliance blind spots:
- "Ghost" Inspections: Drivers can fill out a week's worth of pages in 5 minutes without looking at the truck.
- Illegible Handwriting: Mechanics can't fix what they can't read.
- Slow Reporting: A defect noted on Monday might not reach the office until Friday.
- No Photo Evidence: "Broken light" doesn't tell the mechanic which light or what parts are needed.
- Lost Records: Paper pages fade, get wet, or go missing—especially during investigations.
Apps like DIGI CLIP can help by prompting drivers to photograph defects, recording the inspection location, and emailing alerts to your maintenance team when configured. Start a free trial to see the difference.
Detailed Breakdown: What to Inspect
A comprehensive truck pre-operational checklist should follow a logical flow around the vehicle. Use this structure for your daily inspections, or download our free PDF template to get started immediately.
Step 1: The Walk-Around (External)
Start at the driver's door and walk clockwise around the vehicle.
- Tyres: Look for deep cuts, bulges, or uneven wear. Don't just kick them—use a tread depth gauge to check the minimum 1.5mm requirement.
- Wheel Nuts: Check for rust streaks radiating from nuts (a sign of looseness). Visually inspect for missing locking indicators.
- Lights: Wipe lenses clean. Have a spotter check brake lights activate properly, or use a reflection method to confirm.
- Body Condition: Ensure battery covers are secure, fuel caps are tight, and mudguards are intact.
- Mirrors: Confirm they are clean, secure, and correctly adjusted for the driver.
Step 2: Under the Bonnet (Fluids)
- Engine Oil: Check dipstick level. Top up if below the minimum mark.
- Coolant: Inspect reservoir level. Never open a hot radiator cap.
- Power Steering Fluid: Check reservoir (cold engine).
- Belts & Hoses: Look for fraying belts, bulging rubber hoses, or disconnected clamps.
- Leaks: Inspect the ground for fresh drips of oil, fuel, or coolant before starting the engine.
Step 3: In the Cab (Controls & Operation)
- Start the Engine: Listen for unusual noises (grinding, knocking, squealing).
- Check Gauges: Ensure oil pressure rises and air pressure builds to the governor cut-out (typically 800–850 kPa). Watch for low-fluid warnings.
- Wipers & Washers: Test operation on a clean windscreen. Check washer fluid level.
- Horn: Give it a short blast to confirm it's audible.
- Brakes: Apply the parking brake and try to move forward (tug test). Apply the foot brake and listen for air leaks. Check that brake lights activate.
- Reversing Alarm: If fitted, confirm it sounds automatically when reverse is selected.
Step 4: Trailer/Coupling Checks (If Applicable)
- Fifth Wheel/Pin: Visually confirm the jaws are locked around the kingpin.
- Tug Test: Perform a firm tug forward with the trailer hand brake applied to confirm the connection is solid.
- Air Lines: Check suzi coils (blue and red lines) are connected and not chafing.
- Electrical Connector: Confirm it is seated and the locking pin is engaged.
- Load Restraint: Inspect all tie-down straps and chains. Ensure gates are fully latched.
Transform Your Fleet Safety Today
Move beyond "tick and flick" paper forms. DIGI CLIP can give you real-time visibility over your fleet's roadworthiness with a simple mobile app.
No credit card required. Set up in minutes. Cancel anytime.
Frequently Asked Questions
How often must a pre-operational checklist be done?
Every single day, or before the start of a new shift if the driver changes. Under the HVNL, a heavy vehicle must be safe before it is used on a road, so a documented pre-start check before each shift is strongly recommended.
Can I use a phone app for daily checks?
Yes. Digital checklists are legally valid in Australia and are often preferred by regulators because they can provide verifiable data (timestamps, location, and photos) that paper cannot. DIGI CLIP can help make this simple.
What constitutes a "critical" or "major" defect?
A critical defect is any fault that makes the vehicle unsafe to drive. Examples include failed brakes, bald tyres (less than 1.5mm tread), non-functioning brake lights, cracked windscreen in the primary vision area, or fifth wheel pin not locked on articulated vehicles. If found, the vehicle must be grounded immediately and tagged out of service.
How long must pre-start records be kept?
The HVNL requires certain fatigue and work diary records to be kept for 3 years. While it does not set a fixed retention period for pre-start or maintenance records, keeping them for at least 3 years is widely recommended for audit, investigation, and CoR compliance purposes. Digital systems like DIGI CLIP can store these securely in the cloud and keep them easy to retrieve when needed.
What should I do if I find a defect?
Do not drive the vehicle if the defect is critical. Log the defect immediately in your checklist app (taking photos as evidence), tag the vehicle out of service, and notify the maintenance manager. Keep the defect report for your records.




Leave A Comment